Getting to know the Defender 110
During the extended stretch of remote working that Covid-19 has made possible (read: not really going out very much at all, which suits me fine by the way), I rediscovered YouTube in spades and one topic in particular got me hooked: RC scale trail and rock crawling. Specifically with Traxxas’ TRX-4 Defender (the long wheelbase Land Rover 110). I don’t know why, exactly, but I think it was the realism of movement captured in so many of those YouTube videos (links below).
And so began several months of watching, dipping in and out of websites that sell the TRX-4, figuring out how I could justify buying one for myself. Actually that wasn’t so difficult. Just. Look. At. It. But I’m an adult, and have been for quite a long time now. I have responsibilities damn it.
Anyway, my very lovely, understanding and supportive wife was totally in agreement that I should get one, so I did.
I’m not new to RC stuff – I’ve had planes, helis, buggies, cars and drones over the years. My first was a Martini Porsche I think – it had working lights and fully proportional control – whatever that meant, I was a kid of single-digit years so was more taken with the working lights. This was the 70s, what do you expect?
But I digress. It has been a long time since I bought any car kits and things have definitely moved along in the time between. For reference, the last one I bought was a Kyosho GP10 which, if you google it now, is often referred to as a “vintage” or “classic” model. And looking on the Kyosho website, the closest I can find is this: https://rc.kyosho.com/en/31400j.html but even that is, I think, much more recent than the kit I had.
The other odd thing is that with the Kyosho, I found more enjoyment in building it than from running it, but the Traxxas is supplied ready-to-run (minus a battery and charger), I think this reinforces the idea that seeing the thing in motion is the real motivation here.
Also, the TRX-4 isn’t a new phenomenon. It has been around for a couple or three years or so, needless to say, I’m definitely late to this particular off-road party.
But when that big old box arrived, I jumped straight in and loved what I found inside.

How’s it look?
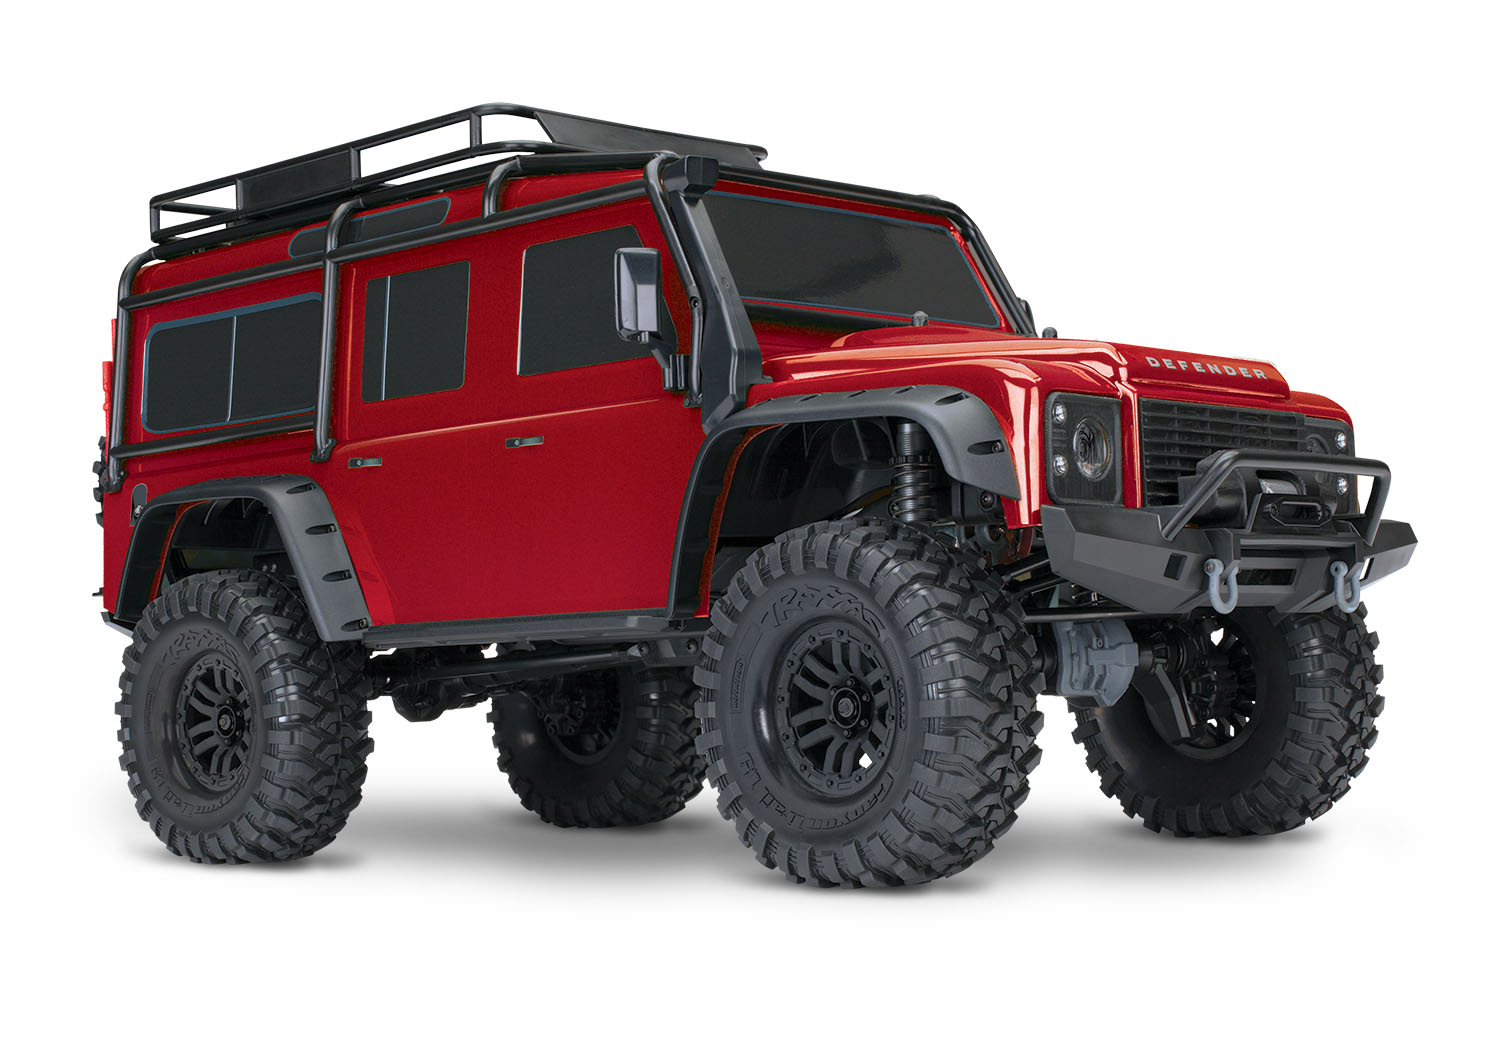
First impressions are that it’s big, and pretty hefty. Actually, it looks a bit too big for 1:10 scale, and being an Internet-savvy curious type, I set out to check the dimensions. Yes, I looked up the specs of the real thing, logged them in a spreadsheet, similarly the dimensions of the model, and compared them. And sure enough, the TRX-4 Defender rounds out closer to 1:9 than 1:10. Why does this matter? Because I want to fit an interior, with a driver figure. Something topical. And to scale. And I wanted to know about other body options. I’m used to being able to mix-and-match between bodies from other kits and manufacturers. So a slightly weird scale isn’t really going to be that easy to accommodate perhaps.
Anyway, we’ll return to this later. Meanwhile it looks very good right out of the box; the body is painted, all the accessories are mounted, and decals are applied.
All you have to do is install the stick of death battery (purchased separately), switch on the included transmitter and receiver – the latter is inaccessible once the body is on – drop the body on and you’re good to go.
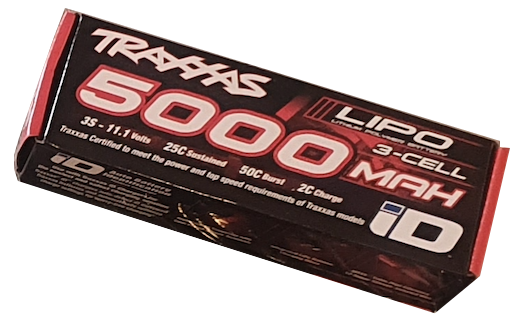
I opted for the 5000 mAh 3 cell (11.1v) LiPo because I’d already been eyeing up some optional accessories: lights, sounds, a winch etc and figured that’d give me a decent runtime on the trails, even with those extras installed. The warnings and hazard notices plastered all over the battery, charger and instructions don’t make it an easy thing to make friends with, and given that one of the bundled items in my order was a LiPo-safe battery bag (basically a fireproof envelope) only made that relationship a little harder to cement.
There are a few battery-related things that are important for this type of pack, like maintaining a good store charge level (don’t assume you can just leave it lying around unused), not charging it up if you’re not planning to use it soon after, not allowing it to discharge too far in the model (depends on your ESC recognising low-charge levels etc). Failing to do these things could lead to a deterioration of the battery’s integrity, and that could lead to fires and such. Take time to learn about these things – with the correct charger setup they’re far easier to avoid.
Presumably these considerations also apply to LiPo batteries in other scenarios beyond RC models too, so please make time to understand the requirements of your kit if you use them.
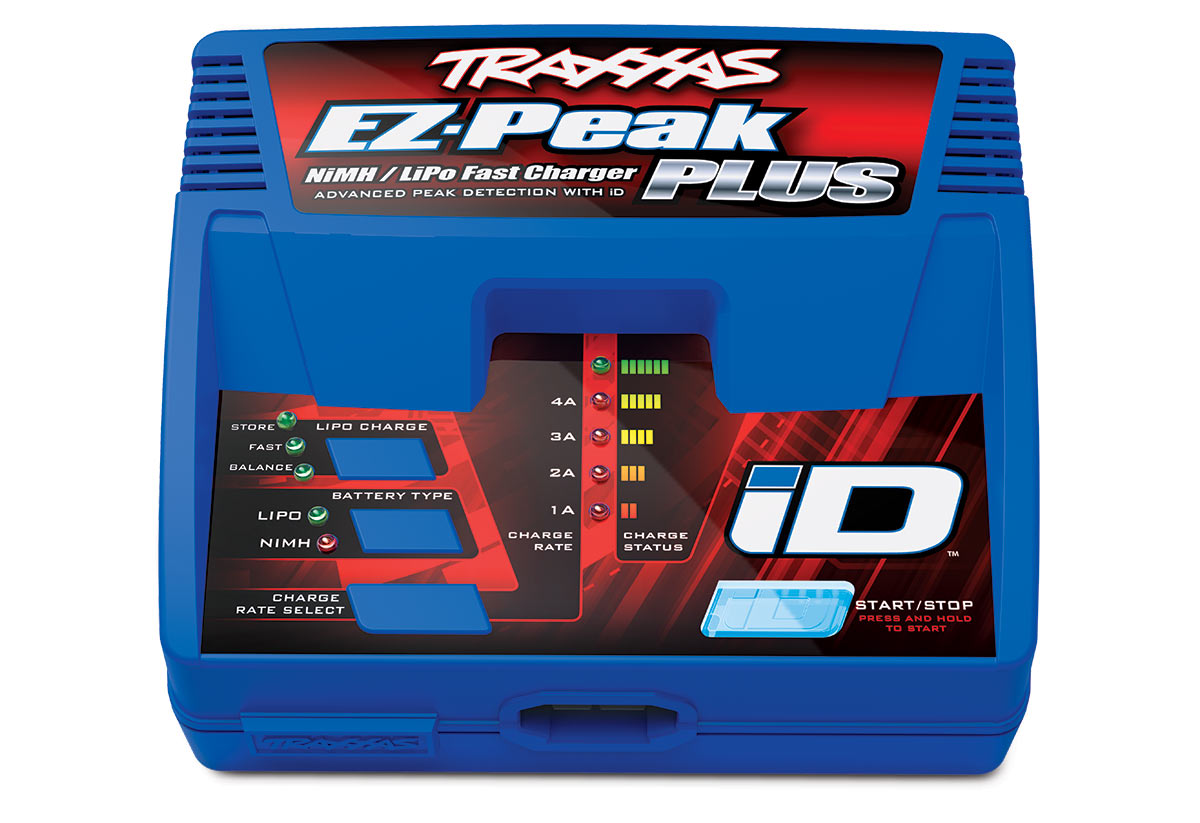
I bought the Traxxas EZ-Peak Plus single-stick charger specifically for this pack because it has cell balancing, battery detection and automatic charging modes available simply by plugging in a Traxxas ID-compatible pack.
The charger and battery have been good to me so far, but I’ve only run one charge through at the time of writing. The battery definitely seems to have pretty long legs – I should have made a note of elapsed run times but I didn’t. Will try to remember for the next discharge cycle.
During my YouTube research phase, I saw people complaining about the stock motor and electronics included in this kit, but to me the Landy feels quite substantial, and nicely put together.
Shelling out
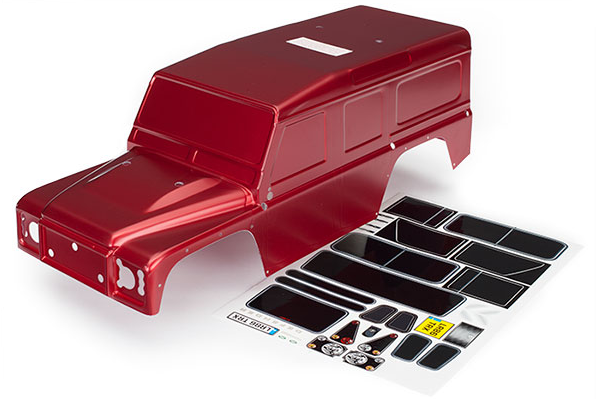
On the subject of bodyshells, it’s a bit disappointing that the one provided in the box has windows that are solid, painted and covered with black decals.
I want to install an interior, and an FPV camera at some point. So that will require cutting into the rather expensive shell, or buying a second, rather expensive shell.
In terms of alternatives, the long wheelbase 110 has very few shells to choose from it seems. Even with the short wheelbase conversion kit that I believe brings the 110 kit’s 324mm wheelbase down to the length of the Bronco / Sport’s 312mm, there are still not many that look like they’ll fit.
And that’s a shame because the Land Rover Defender in its short wheelbase D90 form has been one of my favourites since childhood. Given that the 110 has been out for some time, and seems to be quite popular, the absence of more shells for this Defender chassis, or even the shortened version, seems a bit odd. Maybe it’s just too far away from “standard” which seems to be closer to 275mm or thereabouts.
The other nuisance, as hinted at previously, is that the on/off switch which is located on the speed controller, can only be accessed with the bodyshell removed. Fortunately, there’s an aftermarket accessory to fix that, too.
Which sets up a handy segue into the world of accessories and upgrades. It’s easily possible to spend more than the cost of the original kit on additional odds and ends – some to enhance weight distribution, others to add styling and personalisation touches.
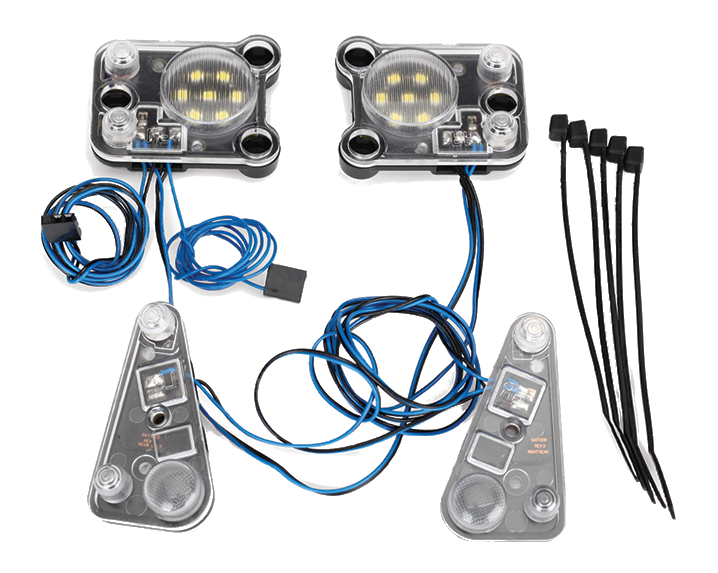
I ordered a light kit – head and tail lights, and a (separate) power supply module which drops into a space on the chassis with pre-drilled holes ready to mount it.
I bought some magnetic body fasteners, but the magnets were so brittle that a couple of them shattered when they crashed together. So I removed those again until I can find something better
How’d it go?

Its first run outside was around the garden. The terrain isn’t taxing for it at all, essentially a pretty flat gravel base with a few flagstone kerbs to bump up and down, but I did think that the suspension looked just a little too firm and the car lacked the soft body roll that I’d seen in those YouTube videos, despite the soft rubber tyres absorbing some of the impact of the gravel surface. However, running it slowly enough did produce a slightly more realistic scale appearance. I think trying different shock springs and/or oil will be on the cards soon.
One of the other criticisms I’d heard over and over in video reviews of the TRX-4 was that it’s too top and back-end heavy, and sure enough throwing it into a left- or right-hand turn with any momentum makes it very likely to roll, and sure enough when climbing something with a significant incline, the rear mounted spare wheel and hardware does tend to lift the nose which isn’t great for maintaining front-end grip.
There are a bunch of replacement components to add unsprung weight (any parts that are not supported by the suspension – axles, wheels, diffs, driveshafts etc) to counter the effects of the body weight, but they can be expensive.
I haven’t explored the capabilities of the Defender at all yet, beyond these initial getting-to-know-it drives, and if some of the commentary above sounds like I’m not totally enthusiastic about it, that is definitely not the case. It’s a completely brilliant bit of kit, and the many upgrades and modifications that are available for it are highly appealing to me.
Extra extras
In addition, to the light kit and switch, I’ve ordered some chassis and diff armour plates for the underside, headlight protector grilles, metal beadlock wheels and tyres to add a little of that unsprung weight, a sort of scale-ish antenna – purely for aesthetics. And of course a pair of actually-shiny mirrors because those stock grey stickers just lacked something.
I’m really looking forward to trying it out on the trail and climbing some rough stuff in the near future, even if that does mean having to leave the house and venture outside.
I’ve also got an interior to figure out and will write that up later.
Links
Here are a few of the many YouTube resources that exist, but these were the ones I found myself going back to time and again.