Almost four years ago(!) I built a small-ish games machine initially exclusively for playing Elite: Dangerous. Since then my PC games diet kind of exploded and more recent releases such as Far Cry 5 have been pushing the limits of my trusty GTX 970, manifesting as regular brief pauses at really inopportune moments during peggie takedowns.
So I turned to Ebay and found a nice new GTX 1080 8GB card. Oh boy, is this thing smooth at ultra settings? Yes. Yes it is. Smoother than Jackson’s and Alien Ant Farm’s criminals combined. Smoother even than Sade’s operator.
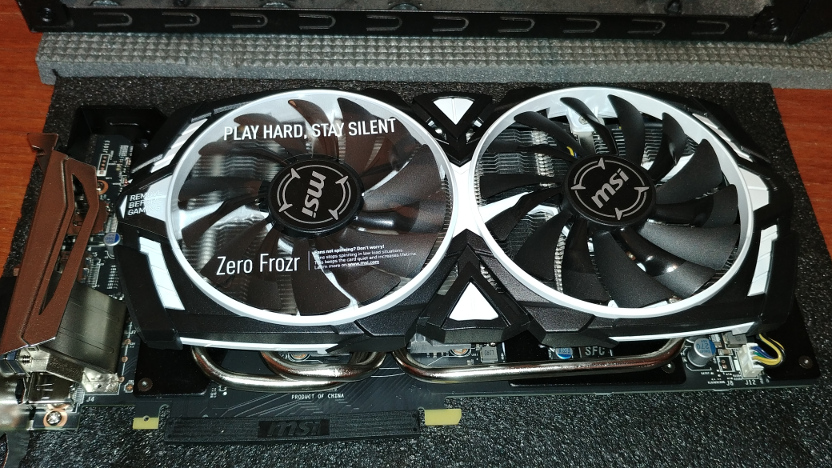
Unwrapping it revealed a sizeable card, fronted with two large fans compared to the 970’s three.  But aside from being a few mm taller than the 970, it was pretty much the same form factor. Which was a relief because I’d seen a few questions from 1080 buyers asking if they’d fit in a micro-ITX sized case (mine’s a Cooler Master Elite 120) and it seems that some of these cards might be too big.
But the Elite 120 case is a great small form factor box, and although everything’s pretty tightly packed inside once the CPU cooler and drives are mounted and connected, it leaves the gfx card on an outside edge, so it’s not too painful to swap out.
First thing then, disconnect all cables from the box then get the outer shell off, then 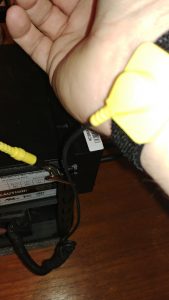 before doing anything else, attach an anti-static strap. If you don’t have one, make sure you get a good grip of the chassis to make sure you’re earthed.
But seriously, get a strap – they’re only a few pounds and could save you hundreds.
It’s probably sensible to look at your setup and figure out how the extraction of
 your old card is going to go before you start pulling at anything.
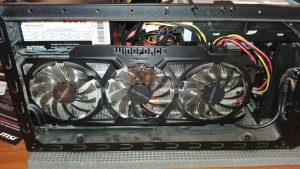
I figured mine would lift up then the bottom end would come forward and sit on the anti-static foam from the new card’s packaging. Then I’d unplug the power connectors and job done!
And that’s pretty much how it went. Once I’d remembered to undo the locking mechanism on the back (right hand side in this image) of the PCI-E slot. Also make sure to remove the PCI-E connector cover and the Zero Frozr fan sticker!
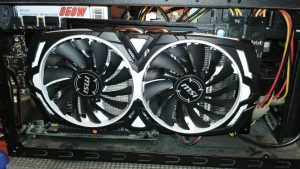 The extra height of the 1080 made for a bit of coaxing to get it seated properly, and then the power connectors pressed up against the quick-release lever for the DVD drive, which put some unwanted pressure on the card/mobo interface.
Fortunately the lever was quick to remove and replace with regular screws.
So that’s it – a nice simple swap out and, having already had the Geforce software on the machine, as soon as Windows rebooted (initially in a low resolution mode) it got to work detecting the new card and switched back to regular HD.
I’m only running it at 1920 x 1080 so even with full ultra everything enabled in the games I’ve tried so far I’m getting a rock-solid frame rate, only about two thirds of the VRAM are used and those two fans are barely making any noise.
Best of all, no more missed headshots because of dropped fractions of seconds. Awesome.
Bring on Read Dead Redemption 2!